I remember a specific Tuesday evening about three years ago. I had just finished a grueling ten-hour workday, my brain felt like overcooked pasta, and I opened my refrigerator only to be greeted by half a jar of pickles and a wilted stalk of celery. My options were a $30 delivery order that would take 45 minutes to arrive or a bowl of cereal. I chose the cereal, ate it over the sink, and decided right then that I was done being a victim of my own schedule.
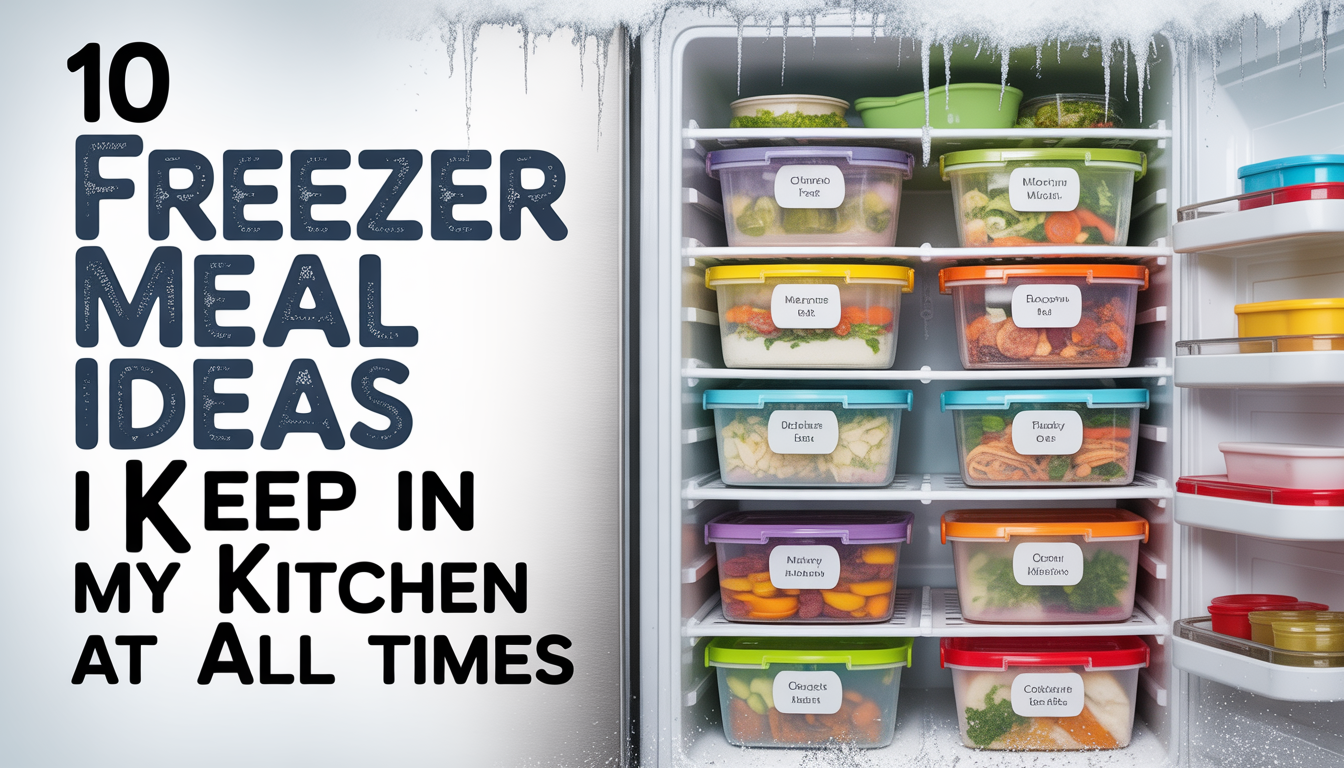
The “Future-You” philosophy was born that night. It is the simple idea that the version of you who has energy on a Sunday afternoon should be looking out for the version of you who is exhausted on a Tuesday night. The centerpiece of this philosophy isn’t a fancy planner or a time-tracking app; it is the freezer. When used correctly, your freezer isn’t just a place where frozen peas go to die, it is a culinary vault of ready-to-eat sanity. These are the 10 freezer meal ideas I keep in my kitchen at all times to ensure I never have to eat “sink cereal” ever again.
The Science of the Deep Freeze:
Before we dive into the recipes, we need to talk about why freezer meals often get a bad reputation. We’ve all had that experience of pulling out a container of mystery stew, thawing it, and realizing it has the texture of wet cardboard and a distinct “freezer” flavor. This isn’t the fault of the food; it’s a failure of the freezing process’s structural integrity.
When food freezes slowly, large ice crystals form. These crystals act like tiny knives, shredding the cell walls of your vegetables and proteins. When you thaw the food, those ruptured cells leak moisture, leaving the food mushy and dry. To prevent this, we need to follow the three golden rules of freezing:
- Cool it Completely: Never put hot food in the freezer. The steam creates condensation, leading to large ice crystals and freezer burn.
- Remove the Air: Air is the enemy. It causes oxidation and freezer burn. Use vacuum sealers, freezer-grade bags with the air squeezed out, or containers filled to the brim.
- Label Everything: You think you will remember what that red sauce is in three months. You won’t. Use a permanent marker and include the date and the “reheat” instructions.
1. The “Golden Child” Breakfast Burritos:
Breakfast is usually the most chaotic part of the day. Having a stack of high-protein, hand-held meals ready to go is a game-changer. These aren’t the soggy, microwavable versions from the store; these are robust, flavorful, and incredibly filling.
- The Component Mix: Scrambled eggs (keep them slightly undercooked as they will cook more when reheated), sautéed bell peppers, black beans, and high-quality chorizo or vegetarian sausage crumbles.
- The Secret Layer: A thin layer of cream cheese on the tortilla acts as a moisture barrier, preventing the eggs from making the wrap soggy.
- The Freezing Method: Wrap each burrito tightly in foil, then place the foil-wrapped bundles into a large gallon-sized freezer bag.
- The Reheat: 90 seconds in the microwave (remove the foil first!) followed by 2 minutes in a dry skillet to crisp the outside.
2. Red Lentil and Spinach Dahl:
In the world of sustainable living, lentils are the undisputed kings. They are cheap, shelf-stable, and freeze better than almost any other protein. A dahl is essentially a thick, spiced stew that actually tastes better after it has been frozen because the spices have more time to marry.
- The Flavor Base: Start with a “soffritto” of onions, ginger, and garlic sautéed in coconut oil. Add turmeric, cumin, and a touch of cinnamon.
- The Texture: Red lentils break down into a creamy consistency that doesn’t suffer from the “thaw-mush” effect.
- The Freezing Method: Freeze these in flat, quart-sized bags. They stack like “food books” in your freezer, taking up almost no space.
- Why it Works: It is a complete meal in a bag. Just microwave it and serve it over a piece of toast or a quick bowl of rice.
3. The “Dump Bag” Lemon Herb Chicken:
This is the ultimate DIY garden trellis for your meal plan, a structure that supports everything else. A “dump bag” is a freezer bag containing raw protein and a marinade.
- The Mix: Chicken thighs (which stay much juicier than breasts after freezing), olive oil, zest and juice of two lemons, four cloves of smashed garlic, and a handful of rosemary or oregano.
- The Magic: As the chicken freezes, it marinades. As it thaws in your fridge the night before you cook it, it marinades again.
- The Cook: You simply “dump” the contents into a slow cooker, an Instant Pot, or a roasting pan.
- Professional Tip: Don’t add salt to the freezer bag. Salt can cure the meat over time, giving it a ham-like texture. Add the salt right before you cook it.
4. Individual Shepherd’s Pies (or Cottage Pies):
There is something psychologically comforting about a meal that comes in its own little “vessel.” I use small, freezer-safe glass containers for these.
- The Base: Ground beef or lentils cooked with carrots, peas, and a rich gravy made from beef stock and a splash of Worcestershire sauce.
- The Topping: Mashed potatoes enriched with a bit of butter and garlic.
- The Secret: Drag a fork across the top of the potatoes to create “ridges.” When you bake these from frozen, those ridges get crispy and brown.
- Storage: These take up more room, but they are the perfect “emergency dinner” for when you have zero capacity to wash a single pan.
5. Pre-Cooked “Grain Pucks”:
This isn’t a meal, but a component. One of the biggest hurdles to a quick dinner is waiting 20 to 40 minutes for brown rice or quinoa to cook.
- The Process: Cook a massive pot of your favorite grain. Spread it out on a baking sheet to cool completely (this is vital).
- The Portioning: Use a muffin tin to create “pucks” of cooked grain. Freeze the tin, then pop the pucks out into a large freezer bag.
- The Use Case: Throw two pucks into a bowl with a little water, microwave for two minutes, and you have perfectly fluffy rice. It is the ultimate technical SEO for your kitchen, optimizing the “crawling” of your daily tasks.
6. The “Everything” Vegetable Soup Base:
I call this the “Fridge Clearing” soup. Every two weeks, take all the vegetables that are starting to look a little sad and turn them into a concentrated base.
- The Ingredients: Celery, carrots, onions, zucchini, kale, and maybe some roasted tomatoes.
- The Method: Sauté them all together with some vegetable stock, but leave the liquid level very low. You want a “thick” soup.
- The Freezing: Freeze in silicone “soup cubes” (like Souper Cubes).
- The Reheat: When you’re ready to eat, pop a cube into a pot and add a cup of water or broth. You can drop in some noodles or white beans for a 5-minute minestrone.
7. Spinach and Ricotta Stuffed Shells:
Pasta usually doesn’t freeze well if it’s already in a sauce (it turns into a sponge), but stuffed shells are the exception to the rule.
- The Prep: Boil jumbo pasta shells until they are very al dente (slightly undercooked). Stuff them with a mixture of ricotta, parmesan, frozen spinach (squeezed dry!), and an egg.
- The Layout: Place the stuffed shells on a baking sheet and freeze them individually. Once they are hard, toss them into a bag.
- The Cook: Place as many as you want in a small dish, cover with your favorite jarred marinara and some mozzarella, and bake at 190°C for 30 minutes. It looks and tastes like a $25 restaurant meal.
8. Classic Beef (or Mushroom) Bolognese:
A true Bolognese takes three or four hours to develop deep, rich flavors. Nobody has time for that on a Wednesday.
- The Batch: Make a double or triple batch on a Sunday.
- The Secret Ingredient: A tablespoon of tomato paste sautéed until it turns dark red, and a half-cup of whole milk added at the end for silkiness.
- Portioning: Freeze in “flat bags” (see the Dahl method).
- The Win: While your pasta boils, your sauce thaws in a pan. In ten minutes, you have a sauce that tastes like it has been simmering all day.
9. Breakfast Sandwich “Pucks”:
Similar to the burritos, but for those who prefer the English muffin aesthetic.
- The Egg Hack: Bake your eggs in a greased muffin tin so they are perfectly round and the exact same size as the muffin.
- The Assembly: Toasted English muffin, a slice of cheddar, a piece of Canadian bacon or a plant-based patty, and your egg puck.
- The Wrap: Wrap in a paper towel, then foil. The paper towel absorbs the steam during the microwave reheat, preventing a soggy bun.
- The Logic: It is cheaper and healthier than the drive-thru, and you can grab it as you head to the office.
10. The “Pesto Cube” Flavor Bomb:
Sometimes, a “freezer meal” is just a high-quality component that elevates a basic ingredient.
- The Harvest: If you have a bounty of basil from your DIY garden, blend it with olive oil, walnuts (cheaper than pine nuts!), garlic, and parmesan.
- The Storage: Freeze in ice cube trays.
- The Versatility: Toss a cube into hot pasta, stir it into a plain soup, or melt it over a piece of grilled fish. It provides a “fresh” hit of summer in the middle of January.
The Economics of the Freezer:
One of the most overlooked aspects of sustainable living is the financial impact of food waste. The average household throws away nearly 30% of the food they buy. Most of that waste is fresh produce and meat that we “intended” to cook but didn’t have the energy for.
By moving to a freezer-meal model, you are essentially “locking in” your grocery investment. When you buy chicken in bulk because it’s on sale, you aren’t just saving fifty cents; you are creating five “dump bags” that represent five nights where you won’t spend $40 on takeout.
[Table: Cost Comparison – Takeout vs. Freezer Meal]
| Feature | Average Takeout (2 People) | Average Freezer Meal (2 People) |
| Monetary Cost | $45.00 – $60.00 | $4.00 – $8.00 |
| Time Spent | 45 Minutes (Wait/Travel) | 10 Minutes (Reheat) |
| Health Profile | High Sodium/Preservatives | Controlled Ingredients |
| Waste Level | High (Plastic/Paper) | Low (Reusable containers) |
| Stress Level | High (Waiting/Deciding) | Low (It’s already done) |
Essential Tools for the Freezer Professional:
If you are going to take this seriously, you need to move beyond the plastic wrap and the old yogurt containers. To maintain quality and consistency, you need a few specialized tools.
- A Vacuum Sealer: This is the gold standard. By removing 100% of the air, you can keep meat in the freezer for two years without a hint of freezer burn.
- Silicone Molds: These allow you to freeze liquids (soups, sauces, grains) in perfect one-cup or two-cup portions. Once frozen, you pop them out and store them in bags, freeing up the molds for the next batch.
- The “First In, First Out” (FIFO) Bin: Buy a simple plastic bin for your freezer. New meals go in the back; old meals move to the front. This prevents the “2022 Mystery Stew” from lurking in the corners.
- The Magnet Inventory: Keep a whiteboard or a magnet list on the outside of your freezer. When you put a meal in, write it down. When you eat it, cross it off. This saves you from standing with the freezer door open for five minutes trying to find something.
The Texture Challenge: What NOT to Freeze:
While I love the freezer, I am also a content professional who values honesty. Not everything belongs in the ice box. If you try to freeze these things, you will be disappointed:
- High-Water Content Veggies: Cucumbers, lettuce, and raw tomatoes will turn into puddles of mush.
- Cream-Based Sauces: Sauces made with heavy cream or sour cream often “split” or become grainy when thawed. If you want a creamy soup, freeze the base and add the cream after you reheat it.
- Fried Foods: Unless they are industrial-strength frozen fries, home-fried foods lose all their crunch and become greasy in the freezer.
- Fully Cooked Pasta: As mentioned, it becomes soft. Always undercook your pasta if it is destined for the freezer.
Defrosting 101: The Safety Protocol:
You’ve done the work, you’ve labeled the bags, and you’ve waited for the perfect “too-tired-to-cook” night. Now, how do you eat it safely?
- The Fridge Thaw: This is the safest and best for texture. Move your meal from the freezer to the fridge 24 hours before you want to eat it.
- The Cold Water Bath: If you forgot to take it out, place the sealed bag in a bowl of cold water. Change the water every 30 minutes. A “dump bag” of chicken will thaw in about two hours this way.
- The Microwave Defrost: Use this as a last resort. It often starts cooking the edges of the food while the center is still a brick of ice, which is bad for both safety and flavor.
I always tell people that the “defrost” phase is part of the recipe. If you rush it, you lose the quality you worked so hard to preserve. Treat your frozen meals with the same respect you give your fresh ones.
Building Your “Freezer Momentum”:
The biggest mistake people make is trying to do a “Full Freezer Day” on their first try. They spend eight hours in the kitchen, get exhausted, and never want to do it again.
Instead, use the “Cook One, Freeze One” method. If you are already making a lasagna, make two. It takes about ten extra minutes to assemble the second one. If you are browning ground beef for tacos, brown two pounds and freeze half for a future Bolognese.
This builds your inventory slowly and naturally. Within a month, you’ll look into your freezer and realize you have a week’s worth of meals ready to go. That is the moment the “Tuesday Night Panic” disappears forever.
Conclusion:
The freezer is more than just an appliance; it is a time machine. It allows you to bottle up your Sunday energy and save it for your Wednesday exhaustion. By mastering these 10 freezer meal ideas, you aren’t just feeding yourself; you are giving yourself the gift of time, health, and a significantly lower grocery bill.
FAQs:
1. How long do freezer meals actually last?
Most cooked meals are best within 3 to 6 months. Raw meat in a vacuum seal can last 12 to 24 months. After that, it’s still “safe” to eat, but the quality starts to drop.
2. Can I freeze glass containers?
Yes, but only if they are tempered glass (like Pyrex) and you leave “headroom” at the top. Liquids expand when they freeze; if the container is full, the glass will shatter.
3. Do I need a chest freezer?
Not for these 10 ideas. A standard “above or below” freezer can hold a surprising amount of food if you use the “flat bag” stacking method.
4. Is frozen food less nutritious?
Actually, freezing “locks in” nutrients. In many cases, a frozen vegetable has more vitamins than a “fresh” one that has been sitting in a shipping truck for a week.
5. What is the best way to prevent freezer burn?
The “Straw Method.” If you don’t have a vacuum sealer, zip the bag almost all the way, insert a straw, suck out all the air, and then quickly seal it as you pull the straw out.
6. Can I refreeze food after it has been thawed?
Only if it was thawed in the refrigerator. If you thawed it on the counter or in the microwave, you should cook and eat it immediately.